
DIY BRAIDED CROWN
STEP ONE:
Gather the needed supplies.
1. Person, preferably one with smiles and willing to have their hair played with.
2. Bobby pins, about 4-6
3. Two small hair ties
**Note: If your hair is on the thinner side you may also want to add a little pomade to your hair before hand for some hold**

STEP TWO:
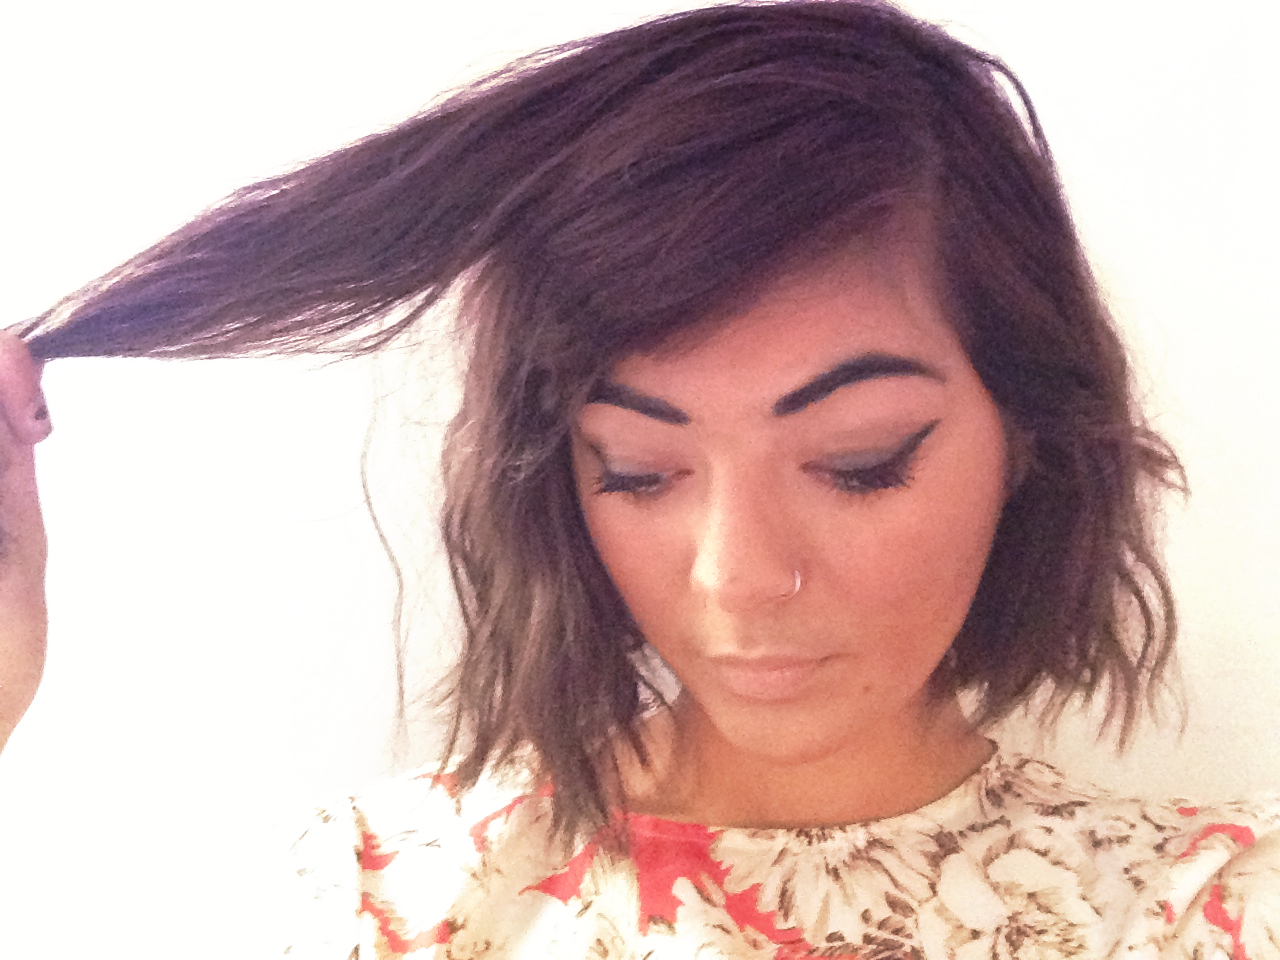
Grab about a 2 inch section of hair from one side of your head, play around with it a bit to get the right size.


STEP THREE:
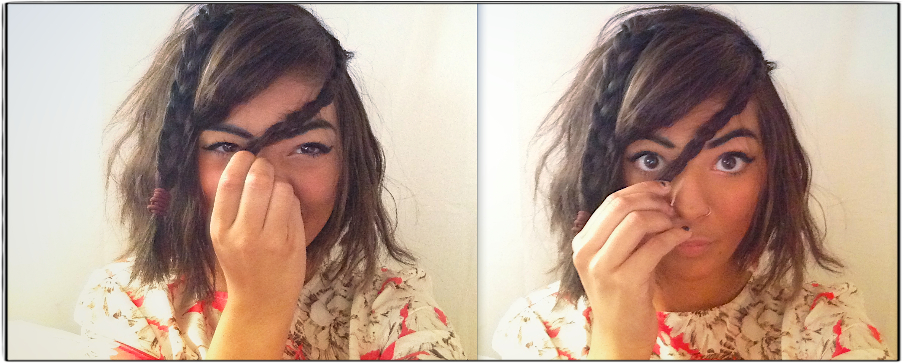
Braid this first piece of hair in front of your face in a diagonal motion towards the opposite side of your head. When the braid is done you should have an awkward braid in front of your face that you can casually secure with a hair tie for the time being.
STEP FOUR:
Repeat step 2 & 3 on the other side of your head, I have a large side part so this braid was much smaller, but thats ok you can lay the braids evenly later so don't fret!


STEP FIVE:
Take one of the braids and flip it upside down to the other side of your head. Using one of your fingers to hold where the braid begins on your head (I noticed this tends to help keep your hair from making an awkward bump). Then pin down with one or two bobby pins.
Repeat this with the opposite side.
**If you're like me with one smaller braid, place the larger braid first, then depending on what you feel looks better on your head place the smaller braid in front or behind the larger one.**

And voila! A nice little braided crown! I am a huge fan of braids due to how easily I can add them to my shorter hair. Let me know how yours turn out! I'd love to see everyones beautiful locks!
No comments:
Post a Comment